Educational overview only. Prudent Guardian (inspirecodingedu.com) is not an insurance company, broker, law firm, or registered investment adviser, and does not provide personalized insurance, investment, tax, medical, or legal advice. Verify details with licensed professionals and official issuers.
A properly documented post-loss home inventory worksheet reduces the time required to process and settle covered property damage insurance claims. Many policyholders delay submission by weeks or months because they cannot cross-reference damaged goods with proof of ownership, serial numbers, or purchase dates, leading to avoidable gaps in claimed items. This step-by-step process helps you compile all required documentation in a standardized format that aligns with most insurance carrier submission requirements. Prudent Guardian offers this educational resource to help householders organize their claim paperwork, and you should always confirm specific documentation rules directly with your assigned claims adjuster, as this page cannot bind coverage, a claim result, or a lawsuit.
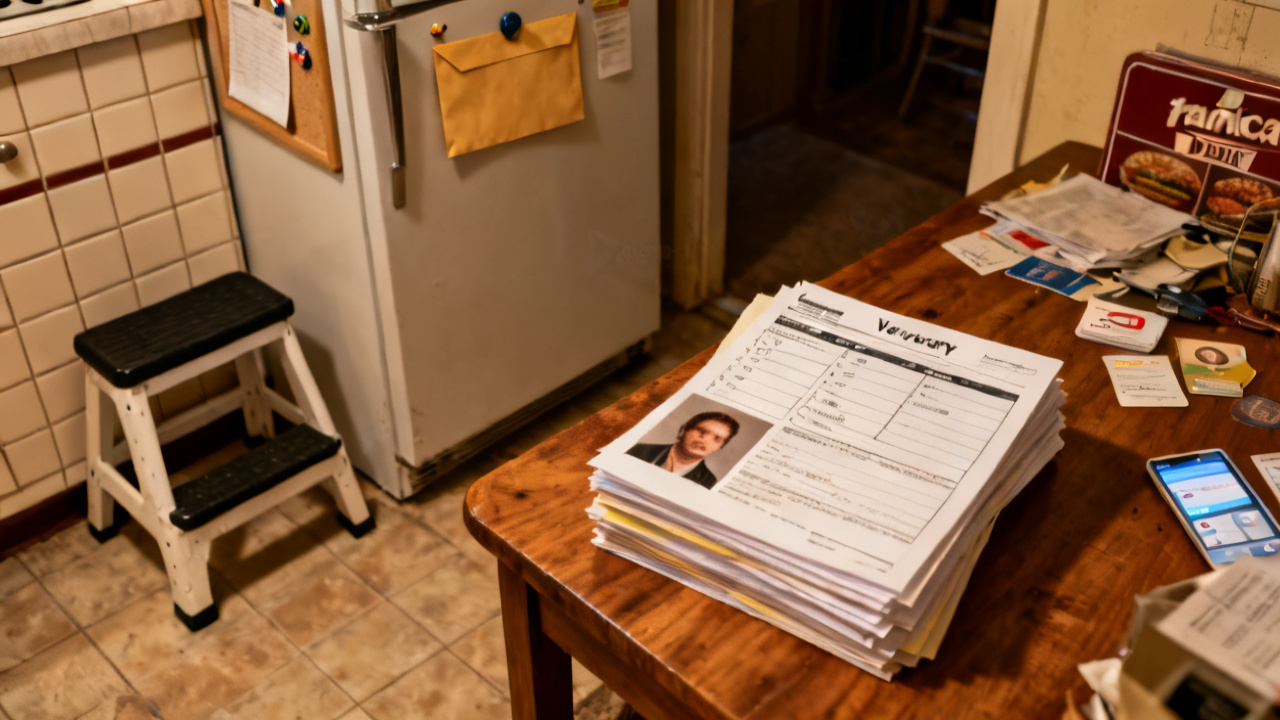
Post-loss worksheet fields to populate with recovered item serial numbers
Serial numbers are the fastest way for insurance carriers to verify the make, model, and retail value of high-value items including electronics, appliances, power tools, fine jewelry, and branded furniture with serialized manufacturing tags. Even if an item is partially or fully destroyed, you can often recover serial numbers from partially intact item tags, original purchase receipts, digital order confirmations, warranty registration records, or pre-loss photos of the item where the serial tag is visible. Use the checklist below to track serial number recovery for all items you plan to include on your claim:

| Checklist Item | Completed (Y/N) | Notes |
|---|---|---|
| Locate serial numbers for all personal electronics (laptops, mobile phones, TVs, gaming consoles, cameras) from partial items, purchase receipts, or linked manufacturer account dashboards | Cross-check missing serials with Apple ID, Google Account, Samsung Account, or manufacturer product registration portals for automatically logged serial numbers | |
| Pull serial numbers for major home appliances (refrigerator, washer/dryer, dishwasher, oven, water heater) from warranty documents, pre-purchase home inspection reports, or intact inner door tags | Most appliance serial numbers are printed on the inside of door frames, which often remain undamaged even in fires or flood events | |
| Record serial numbers or unique identifiers for high-value personal property (fine jewelry, luxury watches, designer goods, professional power tools) from appraisal documents, original purchase receipts, or custom engraving records | For items without standard manufacturer serials, use appraisal ID numbers or custom engraving text as a substitute identifier | |
| Cross-reference all recovered serial numbers with your pre-loss home inventory (if available) to avoid double-counting items or missing unlisted goods | If you do not have a pre-loss inventory, cross-reference serials with past 3-7 years of credit card and bank transaction histories to confirm purchase dates | |
| Flag any items for which serial numbers cannot be recovered, and mark those entries for additional photo or receipt proof of ownership | Most carriers accept alternative proof of ownership if serial numbers are unrecoverable after a covered loss |
Once all serial numbers are logged, add them to the corresponding line item on your inventory worksheet, so each entry has a unique identifier to match to supporting documents.
Tagged photo folder organization for matching inventory entries to damaged goods
Photos are the primary visual proof carriers use to confirm that the item you are claiming was present in your home at the time of loss and sustained the damage you reported. Disorganized, untagged photos often lead to adjusters requesting additional information, which can add weeks to your claim processing timeline. Start by creating a main digital folder labeled with your full name, date of loss, and claim number (if you have already been assigned one). Create three nested subfolders inside the main folder: full room damage wide shots, individual damaged item close-ups, and pre-loss item photos (if available). For every photo, rename the file to match the line item number and serial number from your inventory worksheet, for example: “Line12_Serial98765_DamagedWashingMachine.jpg”. For partial damage items, take at least three photos per item: one wide shot of the item in its location in your home, one close-up of the damaged area, and one close-up of the brand logo or serial tag to confirm it matches your worksheet entry. Illustrative example: If your kitchen microwave has a cracked door from a falling object but the back serial tag is fully intact, take one photo of the cracked door, one close-up of the serial tag, and one pre-loss photo of the microwave installed in your kitchen from 8 months prior, all tagged to the same line item entry. Pre-loss photos can be pulled from social media posts, family photo albums, video call recordings, or old product review photos you took for personal use.
Dated calendar entry logging for cross-checking item purchase and loss timelines
Carriers often require proof that you owned the claimed item before the date of loss, so a clear, verifiable timeline eliminates questions about ownership and reduces the risk of claim reductions for unsubstantiated items. First, log the exact date and time of the loss as a calendar entry, with any relevant public records attached, such as fire department incident reports, flood zone notices, or storm alert updates. Then, for each line item on your inventory worksheet, log the exact date of purchase as a separate calendar entry, linked to the corresponding receipt, credit card transaction record, or appraisal document. If you do not have the exact purchase date, use the date of the credit or debit card transaction for the item as the official purchase date; most financial institutions make transaction histories available for 3-7 years through online portals, so you do not need a physical receipt to confirm the purchase timeline. For items received as gifts, log the date you received the gift, and attach a photo of you using the item shortly after receipt or a signed note from the gift gifter confirming the date of transfer as proof of ownership. If you use a cloud-based calendar platform, you can share a read-only version of the timeline directly with your adjuster instead of sending individual copies of every transaction record, which simplifies the review process.
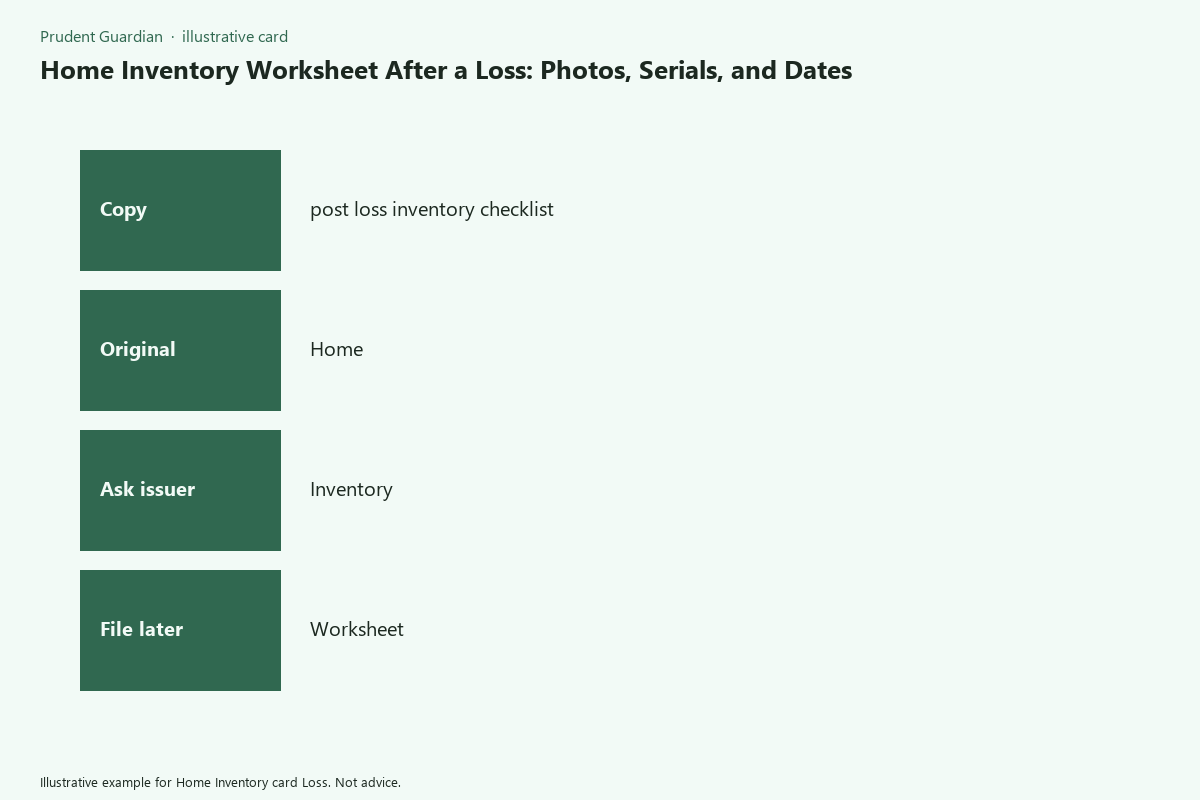
Labeled physical box storage for hard copies of inventory backup documents
Even if you submit all of your claim documentation digitally, you should keep physical hard copies of all inventory backups for your personal records, in case of digital data loss, account access issues, or disputes with your carrier during the claim review process. If you still have access to your home, store these copies in a waterproof, fireproof lock box; if you are displaced from your home, use a sealed, durable portable file box that you can keep with you at temporary housing. Label the outside of the box clearly with your full name, claim number, date of loss, and current contact information, so you can easily identify it if it is mixed with other personal belongings during a move. Inside the box, organize hard copies into clearly labeled file folders: completed signed home inventory worksheet, original purchase receipts and transaction confirmations, appraisal and warranty documents, printed copies of all damaged and pre-loss item photos, and printed copies of all correspondence with your insurance carrier and adjuster. Make two full sets of all physical documents: one for your primary storage box, and one to leave with a trusted friend or family member who lives outside of the affected area, so you have a full backup if your primary box is lost, stolen, or damaged. Never send original physical copies of your documents to your carrier unless explicitly requested by your adjuster; always send copies and keep the originals for your records.
Digital submission form prep for sending completed inventory to your insurance provider
Most carriers allow you to submit your completed home inventory digitally through their customer portal, dedicated claims mobile app, or secure email, and prepping your files before submission reduces the risk of formatting errors or missing information that can cause processing delays. First, reach out to your assigned adjuster to confirm required file types and size limits; most carriers accept PDF, JPG, and PNG files, with a 10MB per file size limit for portal uploads. Compile your completed inventory worksheet into a single PDF file, with all supporting photos and receipts embedded and linked to the corresponding line item entries. Name the file using the standard format requested by your carrier, or use a universal clear naming convention: “YourFullName_ClaimNumber_HomeInventory_SubmissionDate.pdf”, so your adjuster can easily locate your submission in their internal system. Before uploading, cross-check every line item to confirm that the serial number, purchase date, and photo tags match across all supporting documents, to avoid mismatches that trigger additional review requests. If you are submitting through a carrier web portal, fill out all required form fields exactly as they appear on your inventory worksheet, to avoid discrepancies between your uploaded documents and the carrier’s internal claim records. Save a copy of your submission confirmation page or email for your records, and print a copy to store in your physical backup file box. If you have questions about how to fill out the carrier’s specific submission form, reach out to your adjuster directly for guidance, rather than guessing at required fields.
Your immediate next step is to pull 3 high-value item serial numbers from your manufacturer account or receipt records and add them to the first line items of your post-loss inventory worksheet today.
Written by the Prudent Guardian editors.