
Educational overview only. Prudent Guardian (inspirecodingedu.com) is not an insurance company, broker, law firm, or registered investment adviser, and does not provide personalized insurance, investment, tax, medical, or legal advice. Verify details with licensed professionals and official issuers.
This pathology copy request checklist standardizes required administrative steps to request and receive an official, full copy of your personal pathology report from the testing laboratory or your ordering healthcare provider. These reports contain detailed diagnostic analysis of tissue, blood, or fluid samples collected during procedures like biopsies, resections, or routine lab work, and are often required for second opinions, insurance claims, or personal health record maintenance. Prudent Guardian provides this administrative guidance for general education only, and this page does not bind any insurance coverage, claim outcome, or legal matter; rules for medical records access vary by state, so always confirm requirements directly with the issuing lab or provider before submitting your request.
Prudent Guardian editors
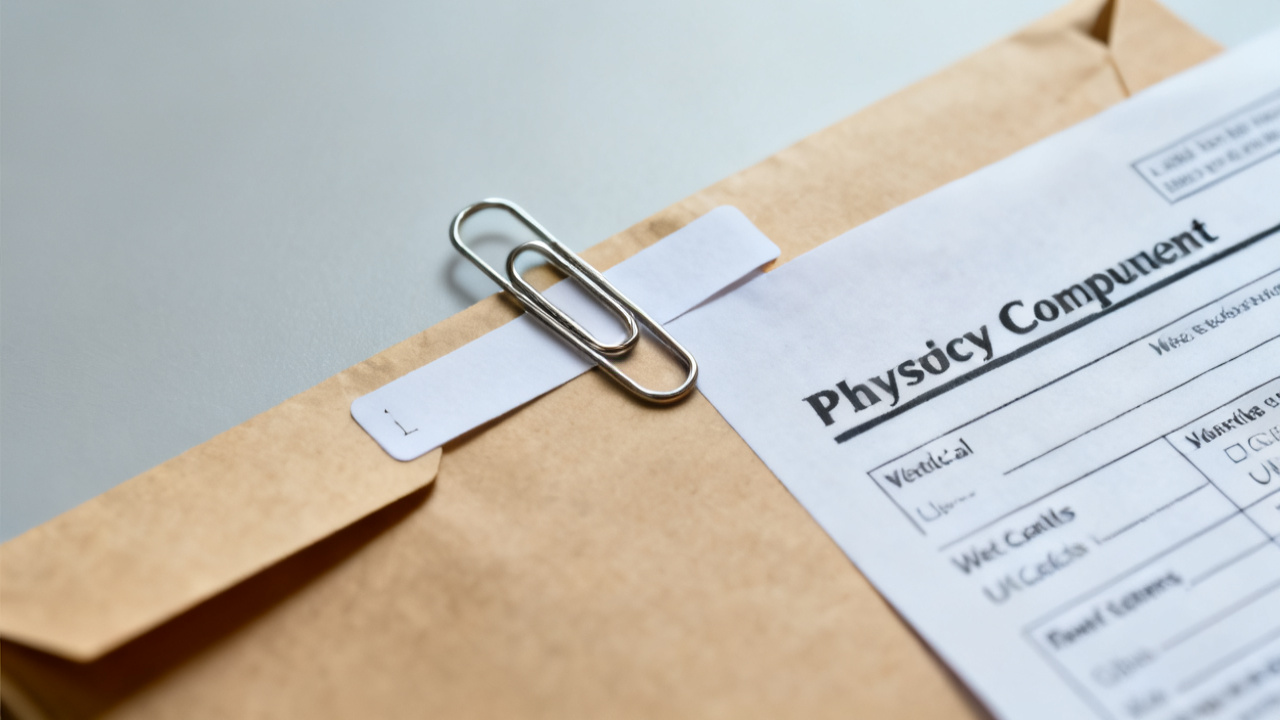
Patient request form completion requirements for pathology copy submissions
Nearly all US labs and healthcare providers require a HIPAA-compliant medical records release form to process pathology report requests, as these documents contain protected health information. Skip generic online request forms not hosted directly by your provider or lab, as these may not meet identity verification requirements and could expose your personal data to unauthorized parties. Use the official request form from the entity that processed your test, and complete all mandatory fields to avoid processing delays. The checklist below outlines all required items for a valid submission:
Pathology Copy Request Submission Checklist
- [ ] Full legal name (include all former/maiden names used with the provider/lab to avoid record matching errors)
- [ ] Verified date of birth and last 4 digits of your Social Security number (for standard identity verification)
- [ ] Exact date of the pathology procedure (biopsy, fluid draw, tissue resection) or 30-day date range if the exact date is unknown
- [ ] Full name of the ordering healthcare provider who sent the sample for testing, to help records staff locate your file quickly
- [ ] Explicit request for “complete, unredacted full pathology report including all ancillary test results, pathologist notes, and associated images where applicable” (avoid requesting only a “summary” to prevent receiving partial, incomplete records)
- [ ] Clear indication of your preferred delivery format: secure patient portal download, encrypted email, or mailed hard copy
- [ ] Valid wet signature (for mail or fax submissions) or verified electronic signature (for secure online portal submissions only; typed names in standard emails do not count as valid signatures)
- [ ] Copy of unexpired government-issued photo ID (driver’s license, passport, state ID) attached to your submission, as required by federal HIPAA rules for identity confirmation
- [ ] Active contact phone number and email address for follow-up questions from the records department
Some labs may charge a nominal administrative fee for printed copies, which is almost always capped by state medical records access laws. Illustrative example: a state may cap per-page fees at $0.25 for the first 50 pages, plus a $3.00 processing fee for mailed copies, with no fee for digital copies delivered via a secure patient portal. You are not required to disclose your reason for requesting the report, as HIPAA grants you full legal access to your own diagnostic test results.
Dated medical folder organization tips for pathology request supporting documents
Set up a dedicated physical or digital folder labeled with the date of your pathology procedure and the name of the processing lab or provider before you submit your request. Separate the folder into two clearly marked sections: outgoing submission materials and incoming responses. For outgoing materials, save a complete copy of the filled-out request form, a copy of the photo ID you submitted, proof of delivery (certified mail receipt, fax confirmation page, or portal submission timestamped confirmation email), and a copy of any payment receipt if you paid an administrative fee for the request. For digital folders, use a consistent naming convention like [Last Name] [Procedure Date] Pathology Request [Submission Date] to make files easy to locate if you need to reference them later. For physical folders, use pre-printed tab dividers to separate submission materials from follow-up notes, and file all documents in chronological order, with the oldest materials at the back of the folder so the most recent items are immediately accessible. This organization will help you resolve disputes quickly if the lab claims they never received your request, or sent the report to the wrong address.
Written confirmation letter follow-up timelines after pathology request submission
HIPAA requires covered entities (labs, licensed healthcare providers) to respond to medical records requests within 30 days of receipt, with one allowed 30-day extension if they send you a written notification explaining the reason for the delay before the initial 30-day window expires. First, mark your submission date in your records, then set a first informal follow-up date 10 business days after submission if you have not received a confirmation that your request was accepted and is being processed. If you submitted your request via a secure patient portal, check the portal’s request status tracker first before calling the records department, as staff often update statuses there before sending individual notifications. If you have not received the report or a formal delay notification by the 30-day mark, send a short written follow-up letter via certified mail with return receipt requested, referencing your original submission date, patient ID number, and the specific report you are requesting. Illustrative example: if you submitted your request on October 1, your first informal follow-up check would be October 15, your formal written follow-up would be November 1 if no response is received, and if you receive a delay notification on November 2, you would wait until December 2 to follow up again per the allowed extension window. Save all follow-up communications and responses in your dated medical folder for your records.
Printed wall calendar tracking milestones for pathology report copy delivery checks
Use a physical wall calendar or a dedicated private digital calendar (separate from your shared work or family calendar) to track all key milestones related to your request, so you never miss a follow-up deadline. First, mark your submission date in green, with a short note of the submission method (portal, mail, fax) and any associated confirmation number. Mark your first informal follow-up date (10 business days post-submission) in yellow, with a note to check the portal or call the records department for a status update. Mark the 30-day HIPAA response deadline in orange, with a note to send a formal written follow-up if no response or delay notification has been received. Mark the extended 60-day response deadline (only applicable if you receive a formal delay notice) in red, with a note to escalate the request to the provider’s patient advocate or your state’s department of health if you still have not received the report. Mark any dates you hold follow-up calls or send written communications, with a short note of the name of the staff member you spoke to and their stated next steps, so you have a clear, accessible timeline of all interactions. Prudent Guardian recommends using a dedicated, private calendar not shared with employers or casual acquaintances to protect your sensitive protected health information.
Secure storage box best practices for preserving your received pathology report copies
Store both physical and digital copies of your pathology report securely to prevent loss, damage, or unauthorized access to your protected health information. For physical copies, use a fireproof, waterproof locked storage box stored in a cool, dry area of your home (avoid basements or attics where humidity or temperature fluctuations can fade or damage paper records over time). Keep a second physical copy in a separate secure location, such as a safe deposit box at your bank, if the report is related to a chronic condition, ongoing treatment, or an open insurance claim. For digital copies, save the encrypted report file on two separate password-protected external hard drives stored in different locations, plus a HIPAA-compliant password-protected cloud storage account for easy access when needed. Never share digital copies of your report via unencrypted email or standard text message, as this can expose your sensitive health data to unauthorized access or data breaches. Keep an extra printed copy of the report in your personal health record binder that you bring to all doctor’s appointments, so you can share it with new providers as needed without having to submit a new request to the lab.
Your first next action is to locate the contact information for the records department of the lab or provider that processed your pathology test, and confirm their specific request form requirements before drafting your submission.